
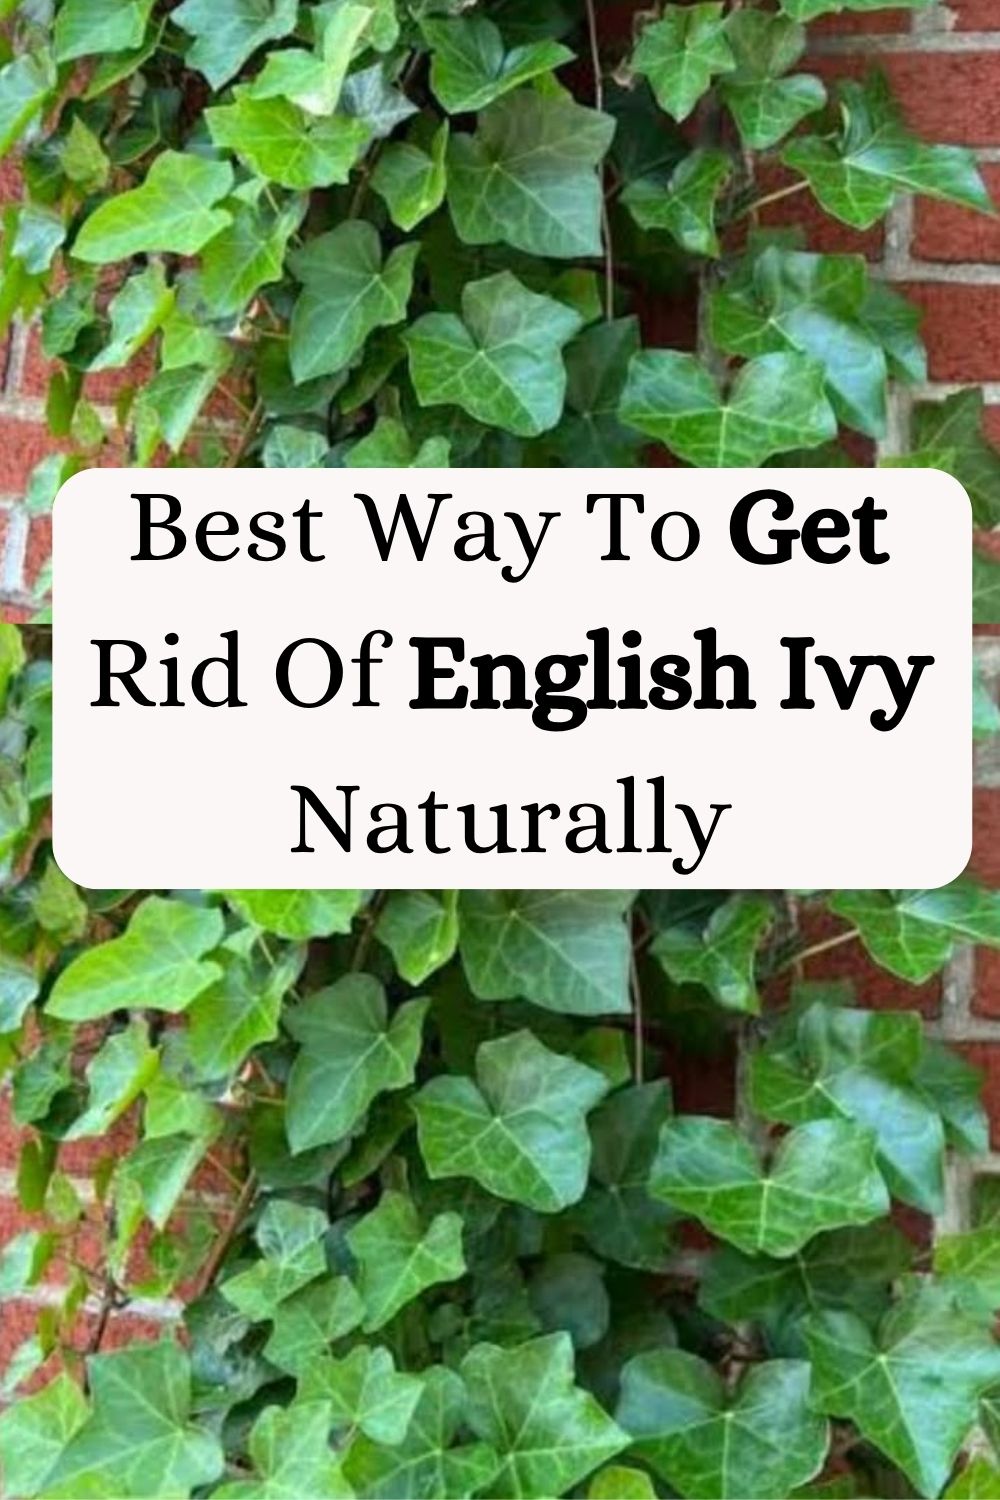
If you’ve ever looked out into your yard and realized that what started as a charming patch of ground cover has quietly taken over your flower beds, crept up your trees, and practically swallowed your fence — you are not alone. English ivy (Hedera helix) is one of the most persistent, stubborn, and deceptively destructive plants a homeowner can face.
The good news? You absolutely do not need to reach for a bottle of glyphosate or any other harsh chemical to win this battle. With the right tools, a solid game plan, and a little patience, you can get rid of English ivy naturally and keep it gone for good.
Let’s dig in.
Best Way To Get Rid Of English Ivy Naturally
Why You Need to Deal with English Ivy Sooner Rather Than Later
Before we get into the how, let’s talk about the why — because if you’re still on the fence about whether English ivy is really that bad, I need you to read this section.
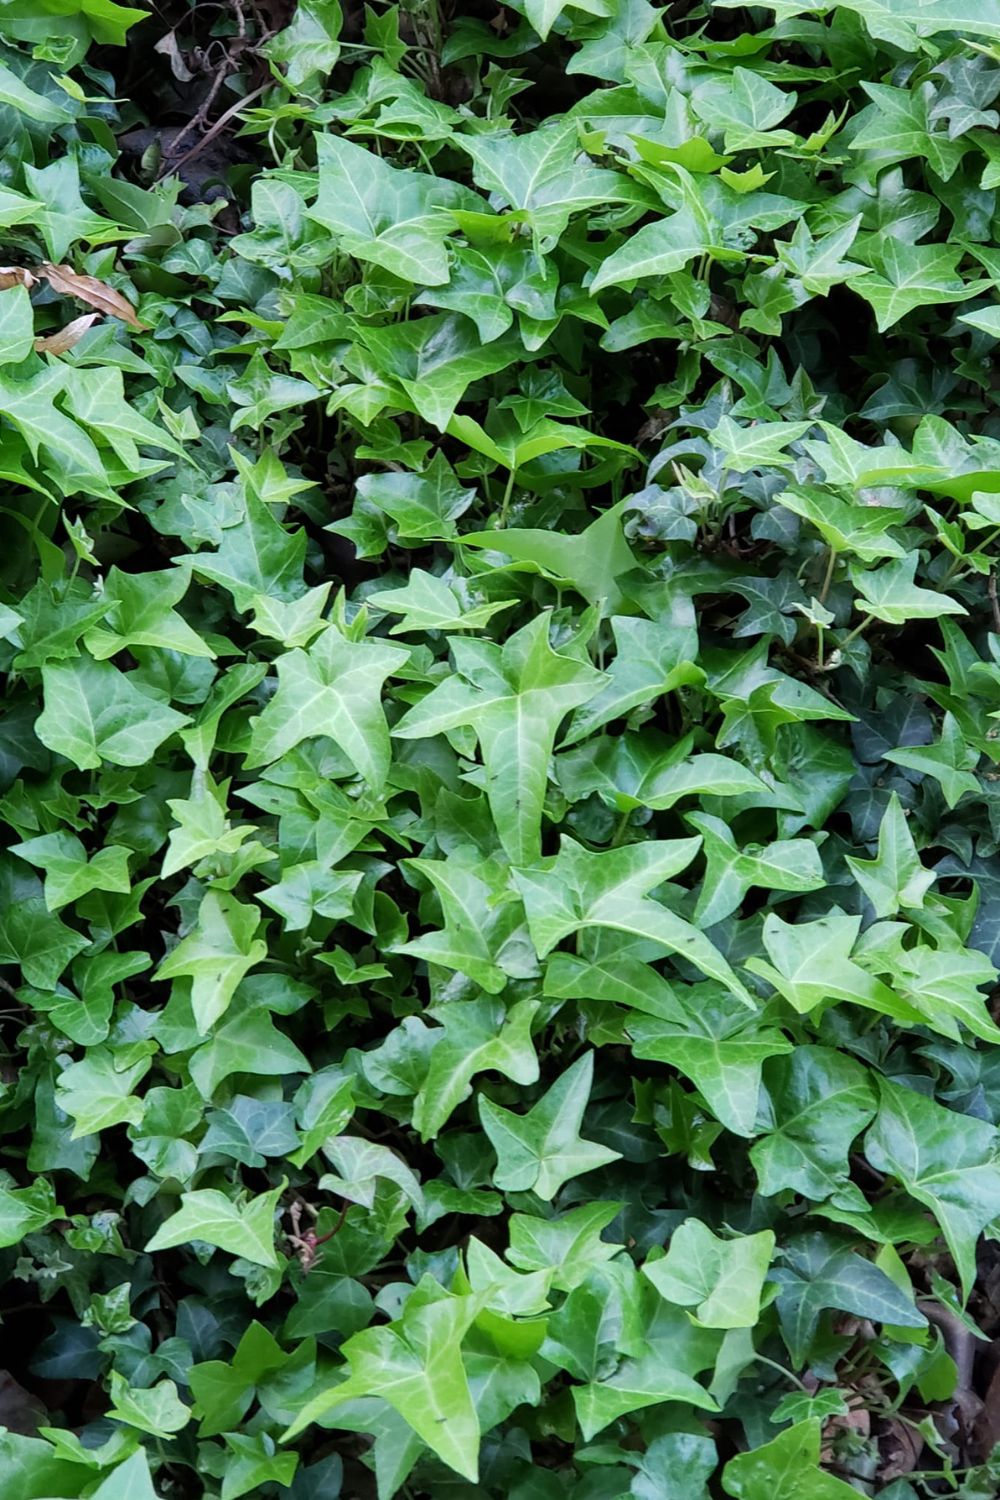
English ivy is classified as an invasive species in many parts of the United States, including the Pacific Northwest, the Southeast, and states like Virginia, North Carolina, Tennessee, and California. It spreads aggressively, outcompetes native species and alters ecosystem balance.
Here’s what unchecked English ivy can do to your property:
Ivy can pose problems if it isn’t properly managed. When it grows on trees, it causes harm by adding significant weight, increasing wind resistance, and blocking sunlight. These factors can make trees more vulnerable to damage during storms.
On buildings, ivy doesn’t usually damage solid, well-maintained walls. However, it can take advantage of existing cracks or weak mortar, gradually widening them and trapping moisture. Over time, this may contribute to deterioration and lead to repairs, especially on older or already damaged structures.
English Ivy can also provide shelter for various forms of wildlife. While this may include unwanted pests like rodents or insects, it can also support birds and pollinators. Whether it becomes a problem depends largely on how dense and unmanaged the growth is.
It’s toxic: When ivy reaches maturity, it produces flowers and berries. Consuming the berries or leaves can trigger mild gastrointestinal discomfort in small amounts, while larger quantities may lead to more serious symptoms — including breathing difficulties, muscle weakness, poor coordination, fever, hallucinations, and even coma.
Once the berries appear, birds feed on them and spread the seeds through their droppings, giving new ivy plants all they need to take root. It’s easy to see why this becomes a serious problem when English ivy spreads unchecked through state parks, national forests, or wooded residential areas.
So yes — it needs to go.
Related Posts:
What You’ll Need
The beauty of going the natural route is that you don’t need anything fancy. Here’s a simple kit to get you started:
- Heavy-duty gloves (ivy can cause skin irritation in some people)
- Long-sleeved shirt and sturdy boots (remember — snakes and spiders love to hide in ivy)
- Safety glasses
- Loppers or pruning shears
- Garden rake
- A hoe or hand cultivator
- Trash bags or a tarp
- White vinegar, salt, and dish soap (your natural herbicide — more on this below)
- A garden sprayer
Step 1: Suit Up and Assess
Before you pull on those gloves and start yanking, take a walk around the affected area. Get a sense of how far the ivy has spread, whether it has climbed any trees, and whether there are any hazards like rocks or uneven ground hiding underneath.
If the ivy is especially thick, use a stick to poke through it before stepping in. You want to avoid any surprises — especially of the slithery kind.
Step 2: Cut the Ivy Down First
This is the most important step people skip, and it makes all the difference.
English ivy has a thick, waxy leaf coating that significantly reduces the absorption of sprays, making foliar applications less reliable — often requiring repeat treatments or the addition of a surfactant to improve penetration. This is especially true on mature leaves, though younger or juvenile growth tends to respond somewhat better to foliar treatment.
Cutting ivy first improves your results in two important ways: it removes the bulk of the growth, and it exposes the stems’ vascular tissue through what is known as the cut stump method. Applying treatment directly to the freshly cut stems allows it to be drawn into the plant’s system far more effectively than spraying over the surface of waxy leaves.
Use loppers or a pair of garden shears to cut the ivy stems back close to the ground. If you’re dealing with a large, flat area, a string trimmer or even a lawnmower set to a low height can speed things up considerably — just make sure there are no hidden rocks or debris underneath first.
Important: Don’t confuse removing English ivy with dealing with Poison ivy. These are very different plants and require different approaches.
When handling poison ivy, the main risk comes from its oil (urushiol), which can trigger a strong allergic reaction if it comes into contact with your skin. Unlike English ivy, you shouldn’t handle it casually—always use protective gear and avoid spreading the oil.
This guide focuses specifically on English ivy removal, which can be managed safely using the methods described above.
Step 3: Deal with Ivy on Trees Separately
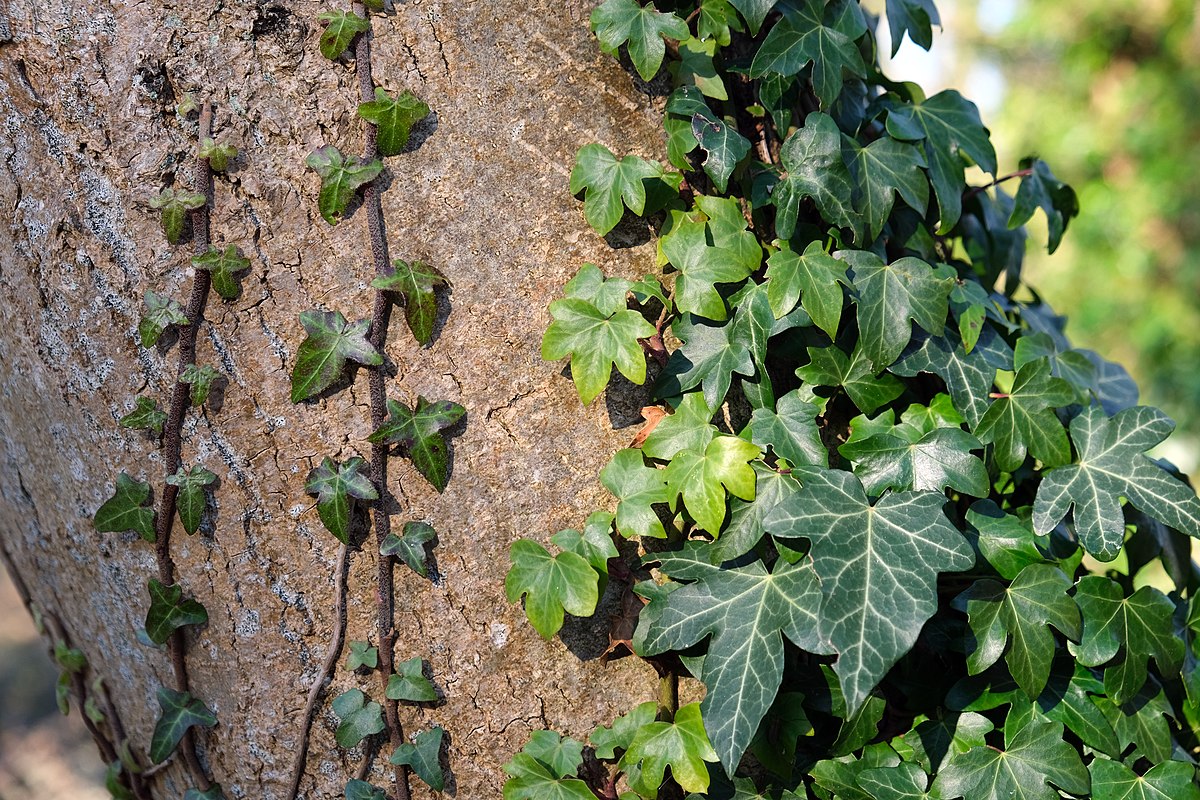
If the ivy has climbed your trees, resist the urge to rip the vines off the bark. This will cause damage to the tree. Instead, follow these steps:
Use loppers to sever the ivy vines around the base of the trunk, cutting a clear ring all the way around about knee height.
Pull the severed vines away from the base of the tree, working outward by a few feet.
Leave the dead vines on the tree itself. They will dry out, turn brown, and eventually fall off on their own.
Check the roots around the base of the tree and cut any ivy growing over them.
This “ring cut” method protects your trees without causing any harm to the bark, and it’s remarkably effective.
Step 4: Make Your Natural Ivy Killer
Here is your go-to natural herbicide recipe:
The vinegar spray:
- 1 gallon of white vinegar (cleaning variety works perfectly)
- 1 cup of salt
- 1 tablespoon of dish soap
Mix it all together and pour it into your garden sprayer. The vinegar is acidic enough to break down the plant tissue, the salt draws out moisture, and the dish soap helps everything stick to the leaves.
A few important notes before you spray:
Do this on a dry, sunny day. Sunshine accelerates the effectiveness of the vinegar, and you need at least 24 to 48 hours without rain for it to work.
Be careful with nearby plants you want to keep. This mixture is not selective — it will damage or kill any plant it touches. Aim carefully, spray low, and work on a calm day so there’s no wind drift.
Saturate the cut stems and foliage thoroughly. The goal is to get the solution into every wound you’ve created in the plant.
Step 5: Wait, Then Rake
Give the spray at least 3 days to do its work. You should start to see the ivy turning yellow, then brown, as it dies back. Once it’s clearly dead, it’s time for the satisfying part — raking it out.
Use a garden rake to pull up the dead vines. Work in rows and don’t rush this part. For any stubborn roots that the rake won’t budge, use a hoe to get underneath them and loosen the soil.
Pro tip: Rake after a rainy day. The softened soil makes root removal dramatically easier and you’ll get up far more of the root system, which reduces regrowth.
Once you’ve raked up the ivy, do NOT add it to your compost pile. Even dead ivy can potentially re-root. Instead, bag it in trash bags or spread it on a tarp, cardboard, or hard surface where it can fully dry out away from any soil.
Step 6: Keep Up the Patrol
Here’s the honest truth — getting rid of English ivy naturally is not a one-and-done job. Depending on how established it is, you may need to repeat the cut-spray-rake process over two or three growing seasons. But each time, you will have significantly less to deal with.
To stay on top of it:
Do a sweep every few weeks during spring and summer, pulling out any new shoots the moment they appear. Young shoots are much easier to pull than established vines.
Keep the area mulched after removal. A thick layer of wood chip mulch suppresses regrowth and makes it easy to spot new sprouts before they get out of hand.
Replace the ivy with native ground covers like creeping phlox, wild ginger, or native ferns, which will fill in the space and make it harder for ivy to reclaim territory.
A Final Word of Encouragement
Taking on English ivy can feel overwhelming — especially if it’s been growing unchecked for years. But don’t let the scale of the job stop you from starting. Even clearing a small section at a time will make a real difference to the health of your garden, your trees, and your local ecosystem.
You don’t need harsh chemicals to win this fight. Armed with vinegar, a good pair of gloves, and a little determination, you’ve got everything you need to reclaim your yard naturally.
Now grab those loppers and get to it. Your garden is counting on you.

Hey there, I’m Derek Schew, a writer for Lawnholic.com, where we cover everything and anything related to lawns. As someone who’s spent countless hours tending to my own lawn, I’m passionate about sharing my knowledge and helping others achieve the perfect yard. From lawn care tips to product reviews, I’m committed to providing our readers with the most accurate and up-to-date information available. So whether you’re a seasoned lawn enthusiast or just getting started, I invite you to join our community and discover the joys of a lush, green lawn.